Conn and I did an experiment earlier this week with the technology.ie podcast. Instead of simply recording it and then publishing it we streamed the entire thing live using IceCast.We’d previously played around a bit with Google “hangouts’, but running our own streaming server was fun and also gave us more autonomy.
Media streaming always struck me as being incredibly complicated and I thought it would be too complicated for someone to setup and run without a lot of work and knowledge.
However I was pleasantly surprised to discover that it’s actually pretty easy if you have some basic knowledge of Linux and don’t mind getting “down and dirty” in vim.
To setup a public streaming server you’ll need to have a public server, which in my case wasn’t a challenge, as I have a cloud VM from Blacknight (doh!).
I like Debian and the package management system it uses (Apt) makes installation of a lot of commonly used software tools incredibly easy.
In the case of icecast2 there is a readily available package so you can install it quickly and easily by simply running:
apt-get install icecast2
You’ll be prompted to install Icecast and probably several other bits of software.
Configuring it isn’t that hard and Falko Timme has written a very nice and simple tutorial. The main thing to remember is to switch the server “on” by editing the file in /etc/default/icecast2 – the last line needs to be set to “true”.
Debian also comes with a functional init script so you can start the server off using (as root or sudo):
/etc/init.d/icecast2 start
It’ll automatically switch to running as the icecast2 user and group.
So with a running instance of IceCast the next obvious step was finding some way of broadcasting.
Conn uses Butt, but it’s a bit limited unless you have extra equipment.
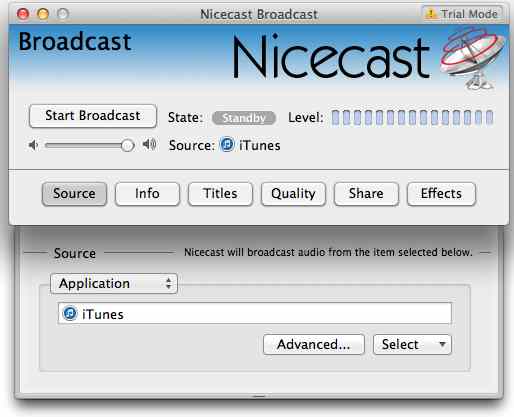
I like simple. So I opted for Nicecast for my experiments. It’s a very simple, yet powerful, bit of software for OSX. A license costs $59, but you can use and abuse it for up to 60 minutes of audio streaming before you need to purchase a key.
What I really like about Nicecast is that you can use it to broadcast any audio source you like, so if you want to broadcast from iTunes, Spotify, Last.fm or even your browser, you can do so. (Bearing in mind that you will need a license to broadcast copyright works)
You simply choose the source you want from a dropdown menu:
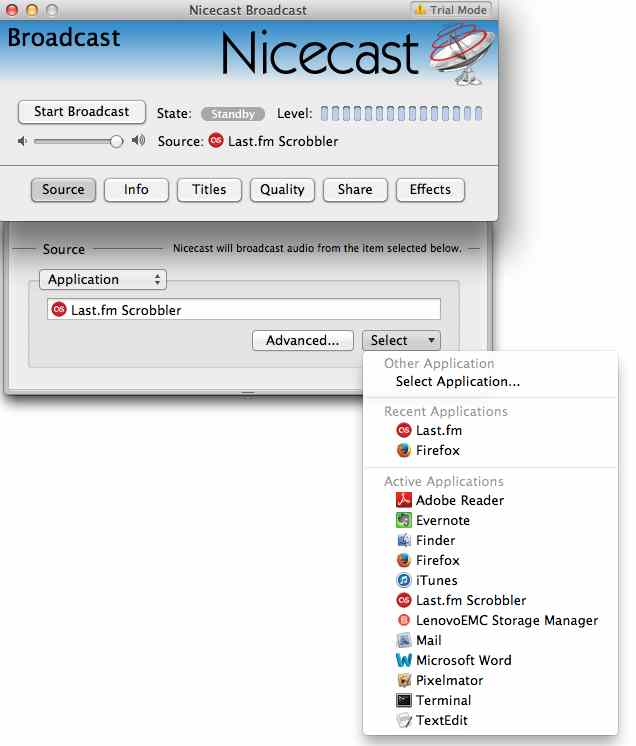
Obviously not all of the apps it identifies would have audio, but it doesn’t try to second guess you. So if you had embedded audio into a Word document it’d let you set that as the source, which is very handy. I really hate it when software limits me!
Connecting to your remote server is pretty easy. You simply add the new server to the application:
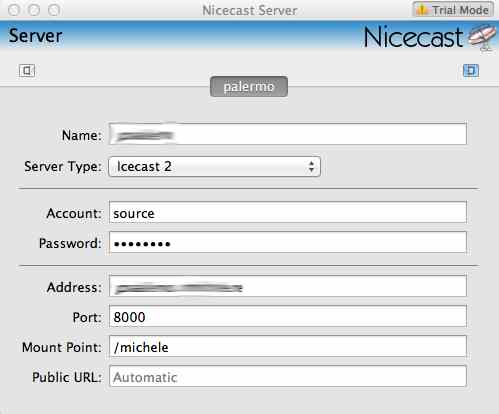
When you’re happy that the settings are correct you can then start your broadcast:
And now it’s up and running:
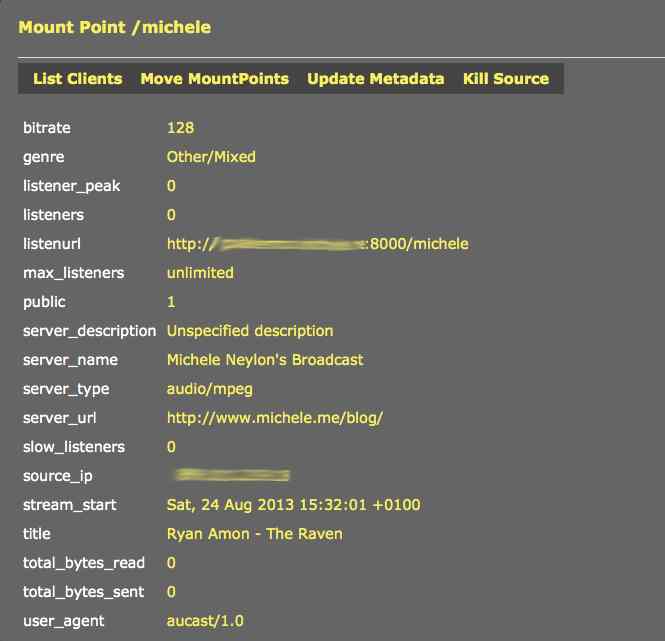
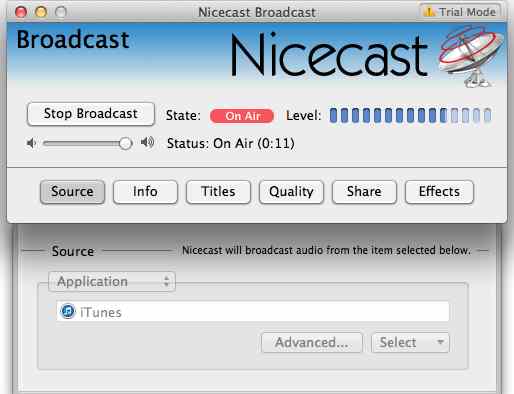 Your IceCast server’s status will show you what it can “see”:
In my case I’m playing with the soundtrack from Elysium 🙂
So you should now be all set.
The total time to get it all up and running should be under an hour – the only gotchas I ran into was that the Debian setup was easier than I thought, so I ran into a couple of silly problems while looking for more complicated ways of starting the server. Also, if you use Nicecast don’t put a trailing slash either before or after the mount point. The software will automatically add its own, but if you try to set one it’ll break. So you’d end up with the odd scenario of having a stream that nobody can access, as the URL would be “empty” and the mount point wouldn’t be visible.
I’ve no idea what, if anything, I’ll do with the icecast server now that I’ve got it setup. Conn and I have been toying with doing a few other experiments, but we want to be sure that if we do anything beyond “talk radio” that the licensing is in order. The last thing I want to end up with is problems from IMRO / IRMA over copyright and licensing!
Related articles
- Grok my BUTT [Podcast #68] (technology.ie)




Hi Michele – great writeup! 🙂 Here are some further details on my experience with icecast.
Installing on CentOS with yum was almost as easy, except that I first had to install a yum repository where icecast was listed:
wget http://dl.fedoraproject.org/pub/epel/5/x86_64/epel-release-5-4.noarch.rpm
and:
rpm -ivh epel-release-5-4.noarch.rpm
Then:
yum install icecast
Conn
So Icecast isn’t available in the default Centos repositories?
Michele
Oops! I said CentOS. I meant CloudLinux. 🙂 Icecast is not in the default repositories on my CloudLinux 5.7 installation.
Conn
Ah fair enough – CloudLinux is “similar” to Centos but its repos would be different
Michele