I’ve always liked making models of planes. And of all the planes that have existed the Spitfire has always been one of my favourites. When it comes to models of Spitfires (and you have to use the plural as there were a LOT of different versions of the Spitfire) they vary both in scale and detail. No, not all models are equal. Anyone who thinks they are is just plain wrong! A 1:72 scale model won’t have as much detail as 1:48, but also the quality of the model varies from kit to kit. Newer tooling is probably going to be better than any “classic” or “vintage” kit you might come across.
I opted for a “simple” Spitfire as my first build.
I’d picked up a 1:72 scale starter kit with my first order which I got the other week.
Airfix provides really clear instructions, which is helpful. They clearly tell you exactly which piece goes where and how. They also make it pretty clear when you should be painting various parts of the plane.

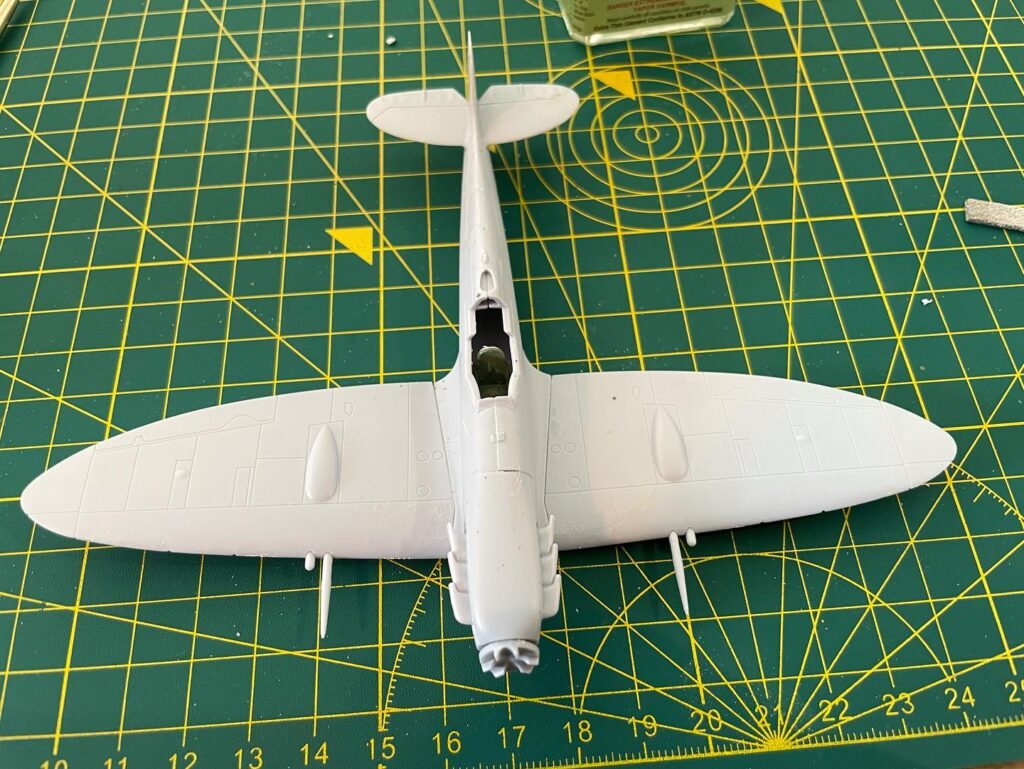
Unfortunately it’s the painting of the plane that was my downfall. As it’s a “starter kit” paint, a paintbrush and glue are all included in the pack. The brush is “okay”, but the paints were a very mixed bag with a couple of the pots being practically unusable. I did have some black paint I’d picked up the other day which was noticeably better going on. However these are just excuses. My problem was that I made a mess of the camouflage. There are ways to do it that could have worked, but I didn’t use any of them. The plane will get finished and I’ll move on, but it’s going to be a lesson for me.
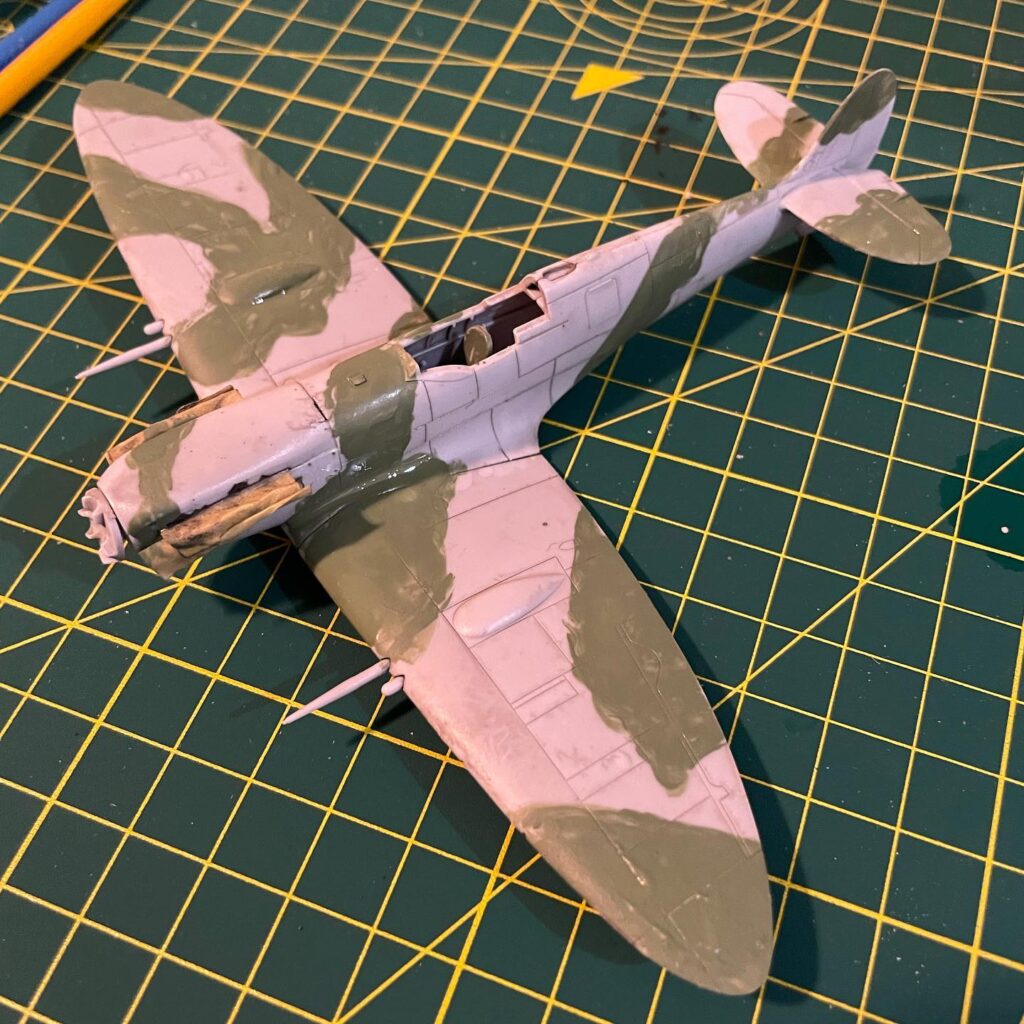
I went back to the painting again in better light and managed to finish it.
It’s not a perfect paint job, but it’s not as bad as the photo above.

I left it for a few days, as I was distracted by other things, but finally got round to tackling the decals this afternoon. I’ve never enjoyed putting on decals. Invariably you end up with one that breaks or somehow manages to wrap itself up in itself or something else goes wrong.
There were a couple of decals for this kit that were really tiny and an absolute pain to position. Between them being so small that they’re hard to see and most tools being designed to handle slightly bigger things it was a lot of “fun” getting them on close to where they were meant to be positioned.
The end result looks okay, but it could and should have been better:
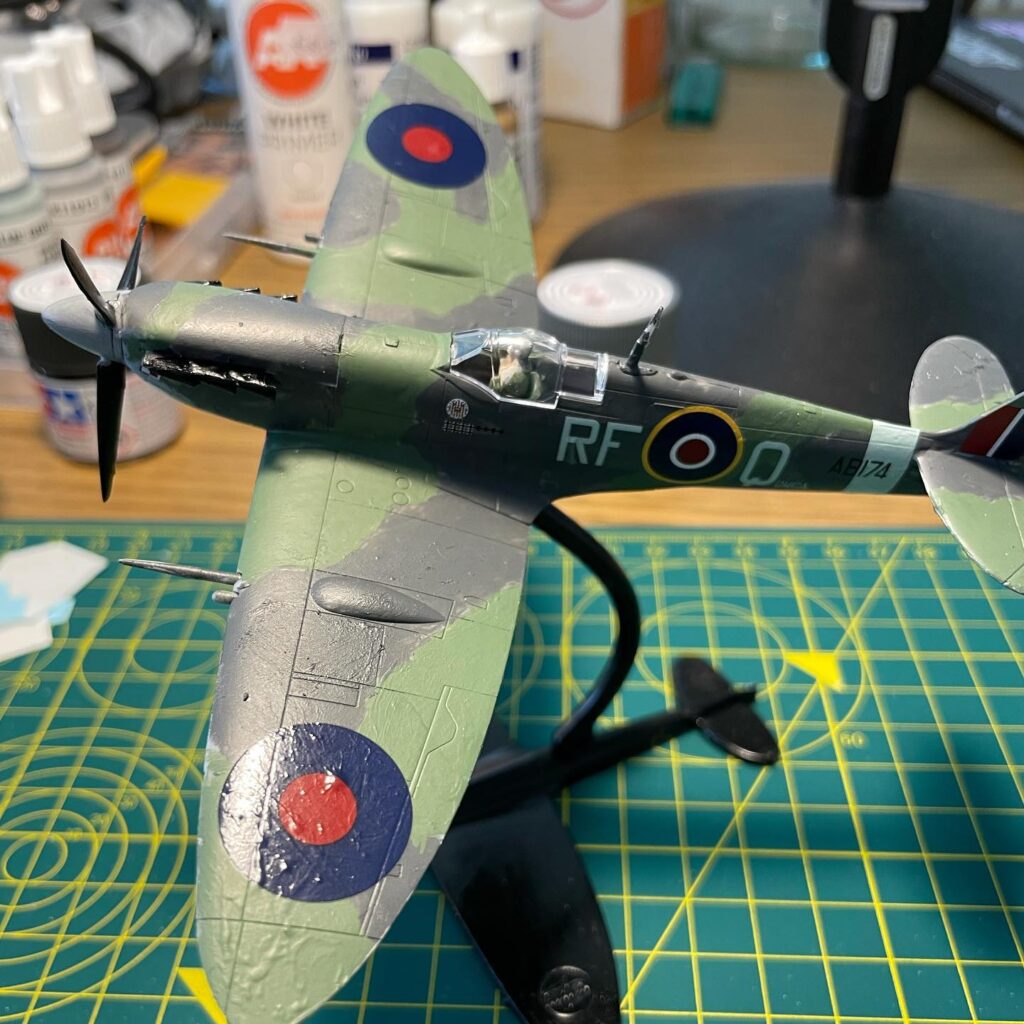
The kit came with a simple, yet functional and attractive little stand for the plane which I decided to paint matt black. There’s a simple little hole underneath the plane it slots into and it’s not actually glued at all, which means that you can always reposition the plane at some point. I’ll be leaving it on a bookcase for now I suspect.
The first scale model I’d tacked in over 30 years wasn’t a total disaster, so I’m quite happy about that. Yes of course it could have been a lot better and I’ve definitely learnt (and remembered) quite a lot along the way.
Next up? Probably an armoured car with a strong Irish connection – the Pattern 1920 Mk.I. Either that or another plane of some kind. I’ll decide this evening.





Leave a Reply